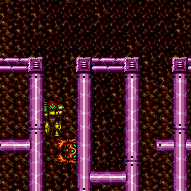
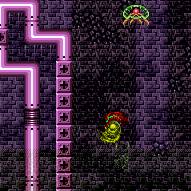
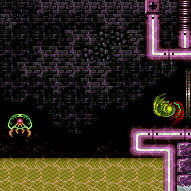
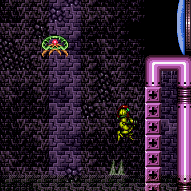
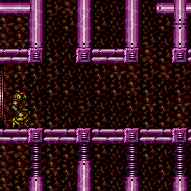
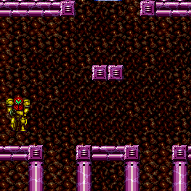
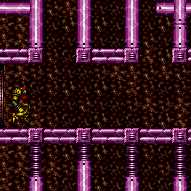
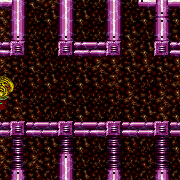
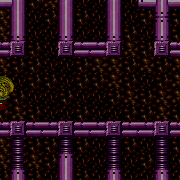
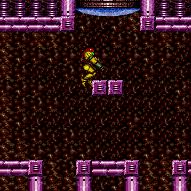
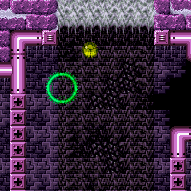
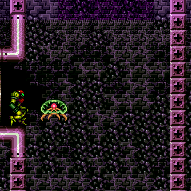
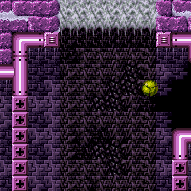
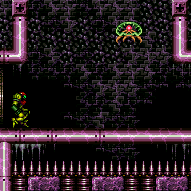
canBufferedMomentumConservingTurnaround (Hard)
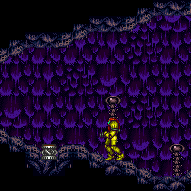
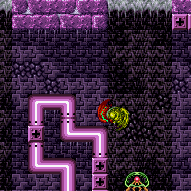
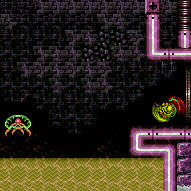
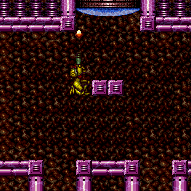
Uses the uninteruptable frames of turning around in order to continue moving after hitting a solid object. This is easiest to see following a Gravity jump through a door transition. During the transition, hold down and backwards to begin the turnaround action. Water physics will delay the turnaround for long enough to continue past overhead ledges with upwards momentum intact.
Strats ()
From: 1
Bottom Left Door
To: 4
Top Left Door
Requires a runway of at least 6 tiles in the adjacent room. Using too much run speed can make it harder to avoid bonking the door: in this case, it can help to fire a hero shot to open the door early, while still facing left, and/or use a momentum-conserving turnaround just before touching the door. Entrance condition: {
"comeInJumping": {
"speedBooster": "yes",
"minTiles": 6
}
}Requires: "HiJump" "canCrossRoomJumpIntoWater" "canBufferedMomentumConservingTurnaround" "h_midAirShootUp" Exit condition: {
"leaveNormally": {}
}Unlocks doors: {"types":["super"],"requires":[]}
{"types":["missiles","powerbomb"],"requires":["never"]} |
From: 1
Bottom Left Door
To: 5
Platform Junction Near Top Left Door
Requires a runway of at least 6 tiles in the adjacent room. Entrance condition: {
"comeInJumping": {
"speedBooster": "yes",
"minTiles": 6
}
}Requires: "HiJump" "canCrossRoomJumpIntoWater" "canBufferedMomentumConservingTurnaround" |
From: 2
Bottom Right Door
To: 3
Top Right Door
Requires running a precise distance of 7 tiles with no open end in the adjacent room, to hit a peak of the speed vs height graph (at extra run speed $2.0 or $2.1). This needs a last-frame Space Jump in the previous room. At the lower of the two possible speeds ($2.0), the jump must be done very low through the door; at the higher speed ($2.1) there is a relatively large window of vertical positions that work. Entrance condition: {
"comeInSpaceJumping": {
"speedBooster": "yes",
"minTiles": 6.4375
}
}Requires: "canTrickyDashJump" "canPreciseSpaceJump" "canInsaneJump" "canCrossRoomJumpIntoWater" "canBufferedMomentumConservingTurnaround" "canDownGrab" |
From: 2
Bottom Right Door
To: 3
Top Right Door
Requires a runway of five tiles in the adjacent room. Entrance condition: {
"comeInJumping": {
"speedBooster": "any",
"minTiles": 5
}
}Requires: "HiJump" "canCrossRoomJumpIntoWater" "canBufferedMomentumConservingTurnaround" "canDownGrab" |
From: 2
Bottom Right Door
To: 3
Top Right Door
Requires a runway of two tiles in the adjacent room. Entrance condition: {
"comeInJumping": {
"speedBooster": "yes",
"minTiles": 1.4375
}
}Requires: "HiJump" "canCrossRoomJumpIntoWater" "canBufferedMomentumConservingTurnaround" |
|
Requires running a very precise distance of 7 tiles with no open end in the adjacent room, to hit a peak of the speed vs height graph. Entrance condition: {
"comeInJumping": {
"speedBooster": "yes",
"minTiles": 6.4375
}
}Requires: "canTrickyDashJump" "canCrossRoomJumpIntoWater" "canBufferedMomentumConservingTurnaround" "canDownGrab" |
|
Entrance condition: {
"comeInSpaceJumping": {
"speedBooster": "yes",
"minTiles": 18.4375
}
}Requires: "canPreciseSpaceJump" "canCrossRoomJumpIntoWater" "canBufferedMomentumConservingTurnaround" |
From: 1
Left Door
To: 4
Platform Below Top Door
Only requires a runway of approximately 2 tile in the adjacent room. Entrance condition: {
"comeInJumping": {
"speedBooster": "any",
"minTiles": 2
}
}Requires: "HiJump" "canCrossRoomJumpIntoWater" "canBufferedMomentumConservingTurnaround" |
|
Entrance condition: {
"comeInJumping": {
"speedBooster": "yes",
"minTiles": 18.4375
}
}Requires: "canCrossRoomJumpIntoWater" "canBufferedMomentumConservingTurnaround" Dev note: This is on a spike in the speed graph, but would work even if it weren't. And higher tile counts work too. It is possible to jump through the door with a precise hero shot and another turnaround (possibly requiring a wide beam), but that is just to avoid a crouch jump. |
From: 1
Left Door
To: 4
Platform Below Top Door
Requires running a very precise distance equivalent to a runway of 7 tiles with no open end in the adjacent room, to hit a peak in the speed / height relationship. The spring ball jump is used after landing near the top, to get to the platform below the door. Entrance condition: {
"comeInJumping": {
"speedBooster": "yes",
"minTiles": 6.4375
}
}Requires: "canTrickyDashJump" "canSpringBallJumpMidAir" "canCrossRoomJumpIntoWater" "canBufferedMomentumConservingTurnaround" |
|
Entrance condition: {
"comeInSpaceJumping": {
"speedBooster": "yes",
"minTiles": 18.4375
}
}Requires: "canCrossRoomJumpIntoWater" "canBufferedMomentumConservingTurnaround" Dev note: This is on a spike in the speed graph, but higher tile counts work too. FIXME: With 7 tiles (extra run speed $2.0 or $2.1) or 11 tiles (extra run speed between $2.C and $3.1), it is possible to make it onto the floor below the floating platform; there's currently no node there, but with a flash suit it would be possible to spark up from there. |
|
Requires running a very precise distance of 12 tiles in the adjacent room and down grabbing onto the platform (extra run speed exactly $3.1). Entrance condition: {
"comeInJumping": {
"speedBooster": "yes",
"minTiles": 12
}
}Requires: "canCrossRoomJumpIntoWater" "canBufferedMomentumConservingTurnaround" "canTrickyDashJump" "canDownGrab" Dev note: FIXME: With 6.4375 tiles, it is possible to reach the floor below the floating platform; there's currently no node there, but with a flash suit it would be possible to spark up from there. |
|
Only requires a runway of approximately 1 tile in the adjacent room. Take two Mochtroid hits or kill it using a Power Bomb or 5 Bombs. Entrance condition: {
"comeInJumping": {
"speedBooster": "any",
"minTiles": 1
}
}Requires: "canJumpIntoIBJ"
{
"or": [
{
"ammo": {
"type": "PowerBomb",
"count": 1
}
},
{
"and": [
"canCeilingBombJump",
{
"enemyDamage": {
"enemy": "Mochtroid",
"type": "contact",
"hits": 1
}
}
]
},
{
"and": [
"canDoubleBombJump",
{
"enemyDamage": {
"enemy": "Mochtroid",
"type": "contact",
"hits": 2
}
}
]
},
{
"enemyDamage": {
"enemy": "Mochtroid",
"type": "contact",
"hits": 3
}
}
]
}
"canCrossRoomJumpIntoWater"
"canBufferedMomentumConservingTurnaround"
"canTrickyJump"Dev note: The rhythm for placing 4 Bombs quickly is the main component of ceiling bomb jumps. canTrickyJump for the IBJ more than the through-door jump. |
From: 2
Bottom Left Door
To: 4
Top Right Door
Entrance condition: {
"comeInJumping": {
"speedBooster": "any",
"minTiles": 1
}
}Requires: "HiJump" "canBufferedMomentumConservingTurnaround" "canTrickySpringBallJump" "canCrossRoomJumpIntoWater" |
From: 2
Bottom Left Door
To: 1
Top Left Door
Requires a runway of 2 tiles in the adjacent room. Entrance condition: {
"comeInJumping": {
"speedBooster": "any",
"minTiles": 2
}
}Requires: "HiJump" "canCrossRoomJumpIntoWater" "canBufferedMomentumConservingTurnaround" |
