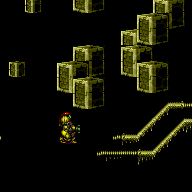
canGrappleJump (Expert)
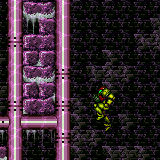
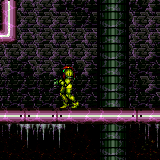
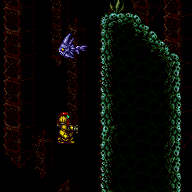
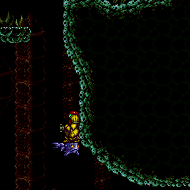
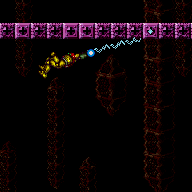
Using Grapple to propel Samus upwards, then continuously morphing/unmorphing/jumping in mid-air to climb upwards. Shoot Grapple again when done climbing to end the effect of the Grapple Jump and regain control of Samus after the final jump. The window for morphing and jumping is much more lenient with HiJump. This is most often a series of crouch jumps, but it is possible to stand and spinjump on each Grapple Jump.
Dependencies: canTrivialMidAirMorph, canMidAirMorph, canUseGrapple
Dev note: FIXME: Preserving a flash suit while grapple jumping is possible but difficult.
Strats ()
|
Entrance condition: {
"comeInWithGrappleSwing": {
"blocks": [
{
"position": [
8,
3
],
"note": "Grapple Beam Room"
},
{
"position": [
7,
3
],
"note": "Colosseum"
}
]
}
}Requires: "canGrappleJump" |
|
Entrance condition: {
"comeInWithGrappleSwing": {
"blocks": [
{
"position": [
-1,
5
],
"environment": "water",
"note": "Mt. Everest"
},
{
"position": [
8,
3
],
"note": "Grapple Beam Room"
},
{
"position": [
7,
3
],
"note": "Colosseum"
}
]
}
}Requires: "canGrappleJump" |
|
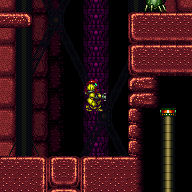
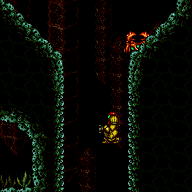
Grapple jump up through the door below. Contact the Skultera while morphing or unmorphing, to avoid knockback. Immediately after the final grapple jump, shoot Grapple to allow Samus to move left, avoiding the overhang and reaching the ledge above. Entrance condition: {
"comeInWithGrappleJump": {
"position": "left"
},
"comesThroughToilet": "no"
}Requires: "HiJump"
"canKago"
"canPreciseGrappleJump"
{
"enemyDamage": {
"enemy": "Skultera",
"type": "contact",
"hits": 1
}
}
"h_trickyToCarryFlashSuit"Dev note: It can be possible to avoid damage from the Skultera but it's very tricky. |
|
Carefuly avoid hitting the crab, by jumping under it to the right. Entrance condition: {
"comeInWithGrappleJump": {
"position": "left"
},
"comesThroughToilet": "any"
}Requires: "canTrickyDodgeEnemies" |
|
Entrance condition: {
"comeInWithGrappleJump": {
"position": "right"
},
"comesThroughToilet": "any"
} |
|
Entrance condition: {
"comeInWithGrappleJump": {
"position": "any"
},
"comesThroughToilet": "any"
} |
|
Entrance condition: {
"comeInWithGrappleJump": {
"position": "right"
},
"comesThroughToilet": "no"
} |
|
Entrance condition: {
"comeInWithGrappleJump": {
"position": "left"
},
"comesThroughToilet": "any"
} |
|
Requires: "canSuitlessMaridia" "canGrappleJump" |
|
Requires: "canSuitlessMaridia" "canGrappleJump" |
|
Entrance condition: {
"comeInWithGrappleSwing": {
"blocks": [
{
"position": [
8,
3
],
"note": "Grapple Beam Room"
},
{
"position": [
7,
3
],
"note": "Colosseum"
}
]
}
}Requires: "canGrappleJump" Clears obstacles: door_1 |
|


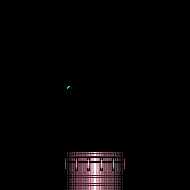
Performing a grapple jump off of a Draygon turret. Usually done by bouncing off the wall for momentum. Requires: {
"notable": "Turret Grapple Jump"
}
"canSuitlessMaridia"
"canGrappleJump"
{
"draygonElectricityFrames": 60
}
"h_breakOneDraygonTurret" |