X-Ray Scope Room
Room ID: 68
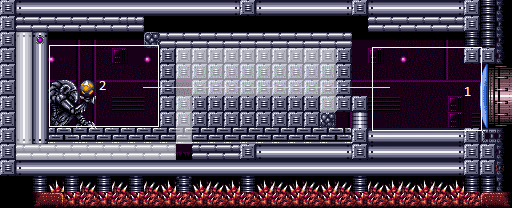
|
Exit condition: "leaveWithRunway": {
"length": 8,
"openEnd": 0
} |
|
Requires: "h_CrystalFlash" |
|
Entrance condition: "comeInShinecharging": {
"length": 7,
"openEnd": 0
},
"comesInHeated": "no"Requires: "h_CrystalSpark" |
|
Requires: "Morph" Dev note: There are additional requirements to get back out. It's a softlock if they aren't met. |
|
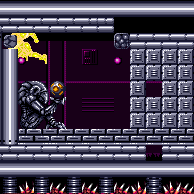
Gain a shinecharge while running into the room, then quickly jump into the morph tunnel. Use the shinespark to break the bomb block. Entrance condition: "comeInShinecharging": {
"length": 4,
"openEnd": 0
}Requires: "HiJump", "Morph", "canShinechargeMovementTricky", {"shinespark": {"frames": 5, "excessFrames": 0}} Clears obstacles: A Dev note: 3 runway tiles are considered unusable, to allow a reasonable amount of space to gain run speed to morph into the tunnel. Using more runway for the shinecharge can work but with greater difficulty. |
From: 1
Right Door
To: 2
Item
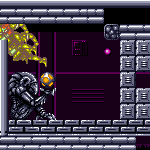

Gain a shinecharge while running into the room, stopping just before running into the wall. Without holding dash, spin-jump to the left and mid-air morph into the morph tunnel. The mid-air morph must be delayed in order for Samus to move far enough left to avoid catching on the ceiling. Use the shinespark to break the bomb block. Entrance condition: "comeInShinecharging": {
"length": 6,
"openEnd": 1
}Requires: "Morph", "canShinechargeMovementTricky", "canInsaneJump", {"shinespark": {"frames": 5, "excessFrames": 0}} Clears obstacles: A |
|
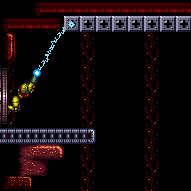

This allows reaching the item without Morph. The item will need to be Morph in order to get out. Entrance condition: "comeInWithGrappleTeleport": {
"blockPositions": [[5, 3], [7, 2]]
}Dev note: FIXME: Once we have a way to represent grapple teleporting while carrying a shinecharge, a strat could be added that uses a spark to break the bomb block. |
From: 1
Right Door
To: 2
Item
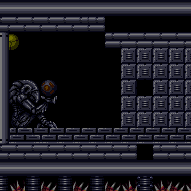

Overload the PLMs with Bombs by bombing the crumble block on the ground behind the first moving elevator. After PLMs are overloaded, go through to the item (through the intended entrance or exit path). Entrance condition: "comeInWithGMode": {
"mode": "any",
"morphed": true
}Requires: "h_artificialMorphBombThings" Dev note: This is only useful if the item is Morph. |
From: 1
Right Door
To: 2
Item
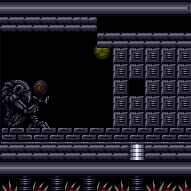

Overload PLMs before touching the crumble block in the morph tunnel, then go through it after they are overloaded. This can be done with 2 Power Bombs by placing them on the center of the rightmost tile inside the ceiling morph tunnel. One tile left of the elevator. Entrance condition: "comeInWithGMode": {
"mode": "direct",
"morphed": true
}Requires: "canPowerBombItemOverloadPLMs", "h_artificialMorphPowerBomb", "h_additionalBomb", {"or": [ "h_artificialMorphSpringBall", "h_additionalBomb" ]} Dev note: This is only useful if the item is Morph. |
|
If using Power Bombs, 1 is used to break the blocks and another is used to escape. Requires: {"or": [
"h_bombThings",
{"obstaclesCleared": ["A"]}
]},
{"or": [
"h_bombThings",
"h_useSpringBall"
]} |
|
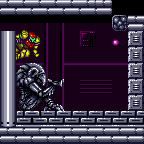

Requires: {"obstaclesCleared": ["A"]},
"h_threeTileJumpMorph" |
|
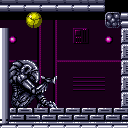

A running lateral mid-air morph can squeeze into the hole with a frame perfect jump. Walk into the right wall, then turnaround to get to an ideal start position. Starting from a moonwalk into the corner makes the jump much more difficult. Requires: {"obstaclesCleared": ["A"]},
"canMomentumConservingMorph",
"canTrickyJump" |
|
Requires: "h_usePowerBomb" Clears obstacles: A |
|


Requires: "ScrewAttack" Clears obstacles: A |
|
Requires: {"haveBlueSuit": {}}Clears obstacles: A |
|


Requires: {"useFlashSuit": {}},
{"shinespark": {"frames": 1, "excessFrames": 1}}Clears obstacles: A |