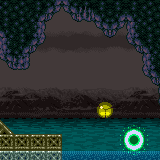
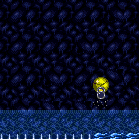
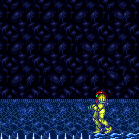
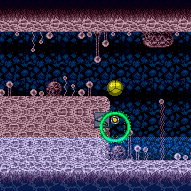
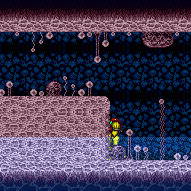
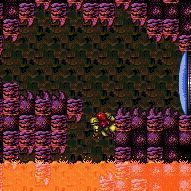
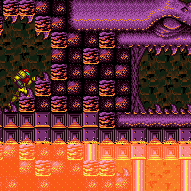
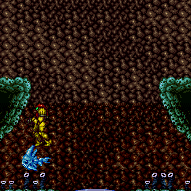
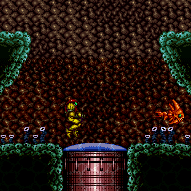
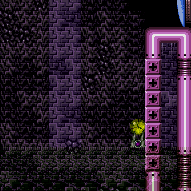
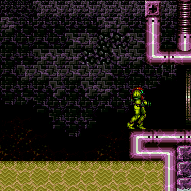
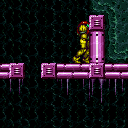
canBombJumpWaterEscape (Very Hard)
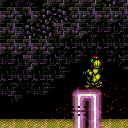
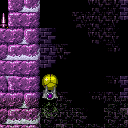
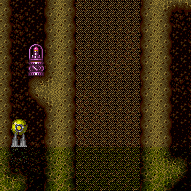
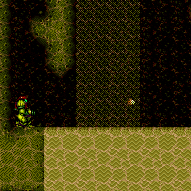
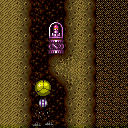
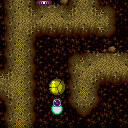
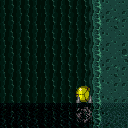
From a submerged platform, setting up a single bomb jump above the water line to propel Samus up and out of the water.
Dependencies: canTrivialMidAirMorph, canMidAirMorph, canSuitlessMaridia
Dev note: It's recommended to apply a number of tries as leniency here for the PBs version.
Strats ()
|
Requires: "canBombJumpWaterEscape" |
From: 3
Right Door, In the Water
To: 1
Left Door
When the water is high, jump and place a Bomb on the descent just above the water, then very quickly crouch jump to hit the Bomb and IBJ. Requires: "canBombJumpWaterEscape" "canJumpIntoIBJ" Dev note: The crouch jump is not necessary, but is helpful. Preserving a flash suit is still difficult without the crouch jump. |
|
Gravity Suit can use the main runway, while suitless must use the shelf. The entire setup can be done with just the Zeros if you are patient enough (and/or have Gravity). Gravity (only) can also run through just the first thick portion of the speedway to use the the Skulltera and Puyos. Entrance condition: {
"comeInWithRMode": {}
}Requires: {
"or": [
"h_CrystalFlashForReserveEnergy",
{
"and": [
"h_RModeCanRefillReserves",
{
"resourceMissingAtMost": [
{
"type": "PowerBomb",
"count": 0
}
]
},
{
"partialRefill": {
"type": "ReserveEnergy",
"limit": 5
}
}
]
}
]
}
{
"or": [
{
"and": [
"Gravity",
"h_shinechargeMaxRunway"
]
},
{
"and": [
{
"or": [
"SpaceJump",
{
"and": [
"canSuitlessMaridia",
{
"or": [
"canPreciseWallJump",
"canBombJumpWaterEscape",
{
"and": [
"h_useSpringBall",
"canJumpIntoIBJ"
]
},
{
"and": [
"canBePatient",
"canTrickyUseFrozenEnemies",
{
"ammo": {
"type": "Super",
"count": 1
}
}
]
}
]
}
]
}
]
},
{
"canShineCharge": {
"usedTiles": 32,
"openEnd": 1
}
}
]
}
]
}
{
"autoReserveTrigger": {
"maxReserveEnergy": 95
}
}
"canRModeSparkInterrupt"
{
"partialRefill": {
"type": "Energy",
"limit": 25
}
}Clears obstacles: A |
|
Requires: "canSuitlessMaridia"
{
"or": [
"canBombJumpWaterEscape",
{
"and": [
"h_useSpringBall",
"canIBJ",
{
"tech": "canJumpIntoIBJ"
}
]
}
]
} |
|
Requires: {
"haveBlueSuit": {}
}
{
"or": [
"canConsecutiveWallJump",
"SpaceJump",
{
"and": [
"Gravity",
"canIBJ"
]
},
{
"and": [
"Gravity",
"canSpringBallJumpMidAir"
]
},
{
"and": [
{
"doorUnlockedAtNode": 1
},
{
"or": [
"HiJump",
"canSpringBallJumpMidAir",
{
"and": [
"canJumpIntoIBJ",
"can4HighMidAirMorph"
]
}
]
}
]
},
{
"and": [
"canBombJumpWaterEscape",
"canLongIBJ"
]
}
]
}Dev note: With a blue suit, the bomb blocks in front of the door cannot be used as a platform. |
|
Requires: {
"or": [
"canDash",
{
"disableEquipment": "HiJump"
},
{
"and": [
"HiJump",
"h_underwaterCrouchJumpDownGrab"
]
},
"canWallJump",
"Gravity",
"SpaceJump",
{
"and": [
"canSpringBallBombJump",
"canResetFallSpeed"
]
},
"canBombJumpWaterEscape"
]
} |
|
Entrance condition: {
"comeInWithGMode": {
"mode": "any",
"morphed": false
}
}Requires: "canSuitlessLavaDive"
{
"lavaFrames": 370
}
{
"or": [
"HiJump",
{
"lavaFrames": 25
}
]
}
{
"or": [
"SpaceJump",
"canSpringBallJumpMidAir",
"canWallJump",
{
"and": [
"HiJump",
{
"lavaFrames": 10
}
]
},
{
"and": [
"canBombJumpWaterEscape",
{
"lavaFrames": 30
}
]
}
]
}
"h_heatedGModeOpenDifferentDoor"Dev note: Artificial morph jump into Crystal Flash clip doesn't seem to be possible. More testing could help. FIXME: The thread the needle strats could be added to save a small amount of Energy, but may not be reasonable. |
|
Requires: {
"or": [
"h_lavaProof",
"canSuitlessLavaDive"
]
}
{
"or": [
{
"and": [
"HiJump",
{
"heatFrames": 270
},
{
"lavaFrames": 270
}
]
},
{
"and": [
{
"heatFrames": 295
},
{
"lavaFrames": 295
}
]
}
]
}
{
"or": [
"canTrickyJump",
{
"and": [
{
"heatFrames": 60
},
{
"lavaFrames": 60
}
]
}
]
}
{
"or": [
{
"and": [
"SpaceJump",
"canCarefulJump",
{
"heatFrames": 100
}
]
},
{
"and": [
"canWallJump",
{
"heatFrames": 60
}
]
},
{
"and": [
"canSpringBallJumpMidAir",
{
"heatFrames": 100
}
]
},
{
"and": [
"canBombJumpWaterEscape",
{
"heatFrames": 180
},
{
"lavaFrames": 30
}
]
},
{
"and": [
"HiJump",
{
"heatFrames": 60
},
{
"lavaFrames": 10
}
]
}
]
}Dev note: Varia no etanks is barely possible with vanilla Varia. Assumes waiting for the first namihe fireball if you are not practiced with the room. |
|
With a blue suit, the IBJ must start from the lava, since the blue suit destroys the bomb block platforms. The blue suit can be used to kill the Dragons. Requires: {
"haveBlueSuit": {}
}
"canJumpIntoIBJ"
"canBombHorizontally"
"canBombJumpWaterEscape"
"canInsaneJump"
"canDoubleBombJump"
{
"heatFrames": 1260
}
{
"lavaFrames": 120
} |
|
Use a Bomb or Power Bomb to boost Samus up onto the ledge. It helps to time the acid cycle to be high when making the final jump. Requires: "HiJump"
{
"or": [
{
"and": [
"canDash",
{
"acidFrames": 75
}
]
},
{
"acidFrames": 130
}
]
}
"canBombJumpWaterEscape"
"canInsaneJump"Dev note: FIXME: Use a numeric variable to model retries instead of requiring canInsaneJump. |
|
Requires: {
"or": [
"canDash",
"Grapple",
"canWallJump",
"SpaceJump",
"canSpringBallJumpMidAir",
"canBombJumpWaterEscape",
{
"and": [
"HiJump",
"canDownGrab"
]
},
"canSpringBallBombJump"
]
} |
|
Requires: "canBombJumpWaterEscape" |
|
Kill the Bull with bombs, by switching between the high and low ground. Rapidly place bombs while rolling slowly. Place the first bomb on the descent, just below the waterline. Entrance condition: {
"comeInWithGMode": {
"mode": "any",
"morphed": true
}
}Requires: "h_artificialMorphJumpIntoIBJ"
{
"tech": "canBombJumpWaterEscape"
}Dev note: FIXME: This might be possible with a Power Bomb and an unmorph, but it would only have one attempt. |
|
Requires: "canSuitlessMaridia"
"canUseFrozenEnemies"
{
"or": [
"canWallJump",
"canSpringBallJumpMidAir",
{
"and": [
"HiJump",
"canDownGrab"
]
},
"canBombJumpWaterEscape"
]
} |
|
Perform the spring ball jump near max height. Place the first bomb between a few frames after the spring ball jump; ideally it should be just above the water line. Press pause a few frames after placing the bomb, to disable Spring Ball (a 'spring fling', to reset fall speed). Place the second bomb soon after regaining control, while the game is fading back in, then continue into an IBJ. Requires: {
"notable": "Bomb Jump Water Escape"
}
"HiJump"
"h_underwaterMaxHeightSpringBallJump"
"canSpringFling"
"canBombJumpWaterEscape"
"canJumpIntoIBJ" |
|
Stay out of the water, and by extension the sand, of the room by using the spikes as platforms. Morphing before landing on the spikes helps to be able to control the knockback. The final spike jump (which would be the most difficult) is avoided by doing a crouch jump into spring ball jump into IBJ to reach the left door. Perform the spring ball jump near max height. Place the first bomb between about 4 and 6 frames after the spring ball jump; ideally it should be just above the water line. Press pause between about 5 and 10 frames after placing the bomb, to disable Spring Ball (a 'spring fling', to reset fall speed). Place the second bomb soon after regaining control, while the game is fading back in. A spike hit in the center of the room can avoided by doing another spring ball jump into IBJ (also with a spring fling). Requires: {
"notable": "Bomb Jump Water Escape"
}
"canDash"
"HiJump"
"canPreciseWallJump"
"canUseIFrames"
{
"spikeHits": 1
}
"canNeutralDamageBoost"
{
"or": [
"canHorizontalDamageBoost",
{
"spikeHits": 1
}
]
}
"h_underwaterMaxHeightSpringBallJump"
{
"or": [
"canSpringFling",
{
"and": [
{
"spikeHits": 1
},
"canInsaneJump"
]
}
]
}
"canBombJumpWaterEscape"
"canJumpIntoIBJ"Dev note: The IBJ at the left side of the room can be done without a 'spring fling' but is far more precise: the first bomb must be placed exactly two frames before the spring ball jump, and the spring ball jump should be performed just before max height, during the 4-frame window between 2 and 5 frames before the last possible frame to jump (there are also 1-frame windows at 0 and 8 frames before the last frame). FIXME: This can be possible to do while carrying a blue suit, with much greater difficulty. |
From: 5
Bottom Middle Junction
To: 4
Top Right Ledge Junction
Perform the spring ball jump near max height. Place the first bomb after the spring ball jump; just above the water line. Press pause just after placing the bomb, to disable Spring Ball (a 'spring fling', to reset fall speed). Place the second bomb soon after regaining control, while the game is fading back in. Requires: {
"notable": "Bomb Jump Water Escape"
}
"HiJump"
"h_underwaterMaxHeightSpringBallJump"
"canSpringFling"
"canBombJumpWaterEscape"
"canJumpIntoIBJ" |
|
Requires: "HiJump" "h_underwaterCrouchJump" "canBombJumpWaterEscape" "canIBJ" |
From: 5
Junction Below Left Item
To: 3
Top Left Item
Use HiJump to reach the water line, wait to morph until fully out of the water, place a Power Bomb at the correct height, and use it to boost just high enough to collect the item. Do not place the Power Bomb at the maximum possible height, but a little lower where it will bounce Samus higher. Requires: {
"notable": "Suitless HiJump Perfect Bomb Boost"
}
"HiJump"
"h_underwaterCrouchJump"
"canBombJumpWaterEscape"
{
"or": [
"canBeVeryLucky",
{
"ammo": {
"type": "PowerBomb",
"count": 8
}
}
]
} |
From: 7
Below Morph Tunnel Junction
To: 5
Morph Tunnel Junction
Jump off of the crumble blocks consecutively while placing a bomb on the water line and convert that into an IBJ to climb to the dry morph tunnel. Requires: "canJumpIntoIBJ" "canBombJumpWaterEscape" "canCrumbleJump" "canInsaneJump" Dev note: This is only useful without other movement items, which means that falling through the crumble blocks would require Samus to restart the room from above (likely shinecharged or with a flash suit). |
From: 5
Junction Above Grapple Block
To: 2
East Leg Right Door
Wait the water tide to reach its peak, then crouch jump into a spring ball jump into an IBJ. Perform the spring ball jump near max height. Place the first bomb between about 4 and 6 frames after the spring ball jump; ideally it should be just above the water line. Press pause between about 5 and 10 frames after placing the bomb, to disable Spring Ball (a 'spring fling', to reset fall speed). Place the second bomb soon after regaining control, while the game is fading back in. When close to the top, perform a spring ball jump to reach the ledge; release jump as soon as Samus is high enough to clear the ledge, in order to avoid taking a Menu hit. Requires: {
"notable": "Bomb Jump Water Escape"
}
"HiJump"
"h_underwaterMaxHeightSpringBallJump"
"canSpringFling"
"canBombJumpWaterEscape"
"canJumpIntoIBJ"
"canLongIBJ"
"canDoubleBombJump"Dev note: This trick can technically be done without a 'spring fling' but is extremely precise. |
