Crocomire Escape: G-Mode Indirect With Assist, Open Gate
Room ID: 121
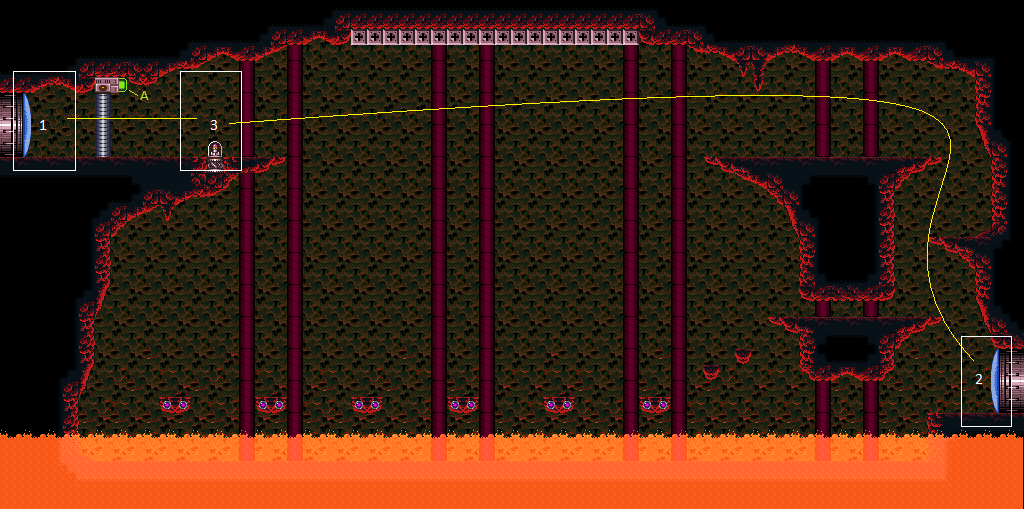
|
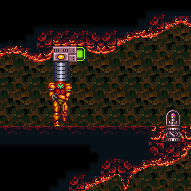

Entrance condition: "comeInWithGMode": {
"mode": "indirect",
"morphed": false
}Requires: "h_heatedGMode", {"or": [ "SpaceJump", {"and": [ "HiJump", "canSpeedyJump", "canWallJump" ]}, {"and": [ "HiJump", "canSpringBallJumpMidAir", {"or": [ {"noBlueSuit": {}}, {"and": [ "Gravity", {"lavaFrames": 25} ]} ]} ]}, {"and": [ {"notable": "Spring Ball Bomb Boost"}, {"noBlueSuit": {}}, "canSpringBallJumpMidAir", "canUnmorphBombBoost", "h_crouchJumpDownGrab", {"or": [ "canInsaneJump", "h_additionalBomb" ]} ]}, {"and": [ {"or": [ {"canShineCharge": {"usedTiles": 15, "openEnd": 2}}, "h_storedSpark" ]}, "canShinechargeMovementComplex", {"or": [ {"shinespark": {"frames": 12, "excessFrames": 2}}, {"and": [ "h_speedJump", {"shinespark": {"frames": 9, "excessFrames": 3}} ]} ]} ]}, {"and": [ {"notable": "Ceiling Mockball Spring Fling"}, "h_speedJump", "canInsaneJump", "canMomentumConservingMorph", "canSpringFling" ]} ]}, {"heatFrames": 90} Clears obstacles: A Dev note: Goes to 3 because opening the gate mostly only makes sense when going back to the right for a longer runway or obtaining the item. FIXME: Variants with shinesparking or Geruta damage boost can be added. (Energy from immobile, CF, or energy free sparks) |