Single Chamber: Base
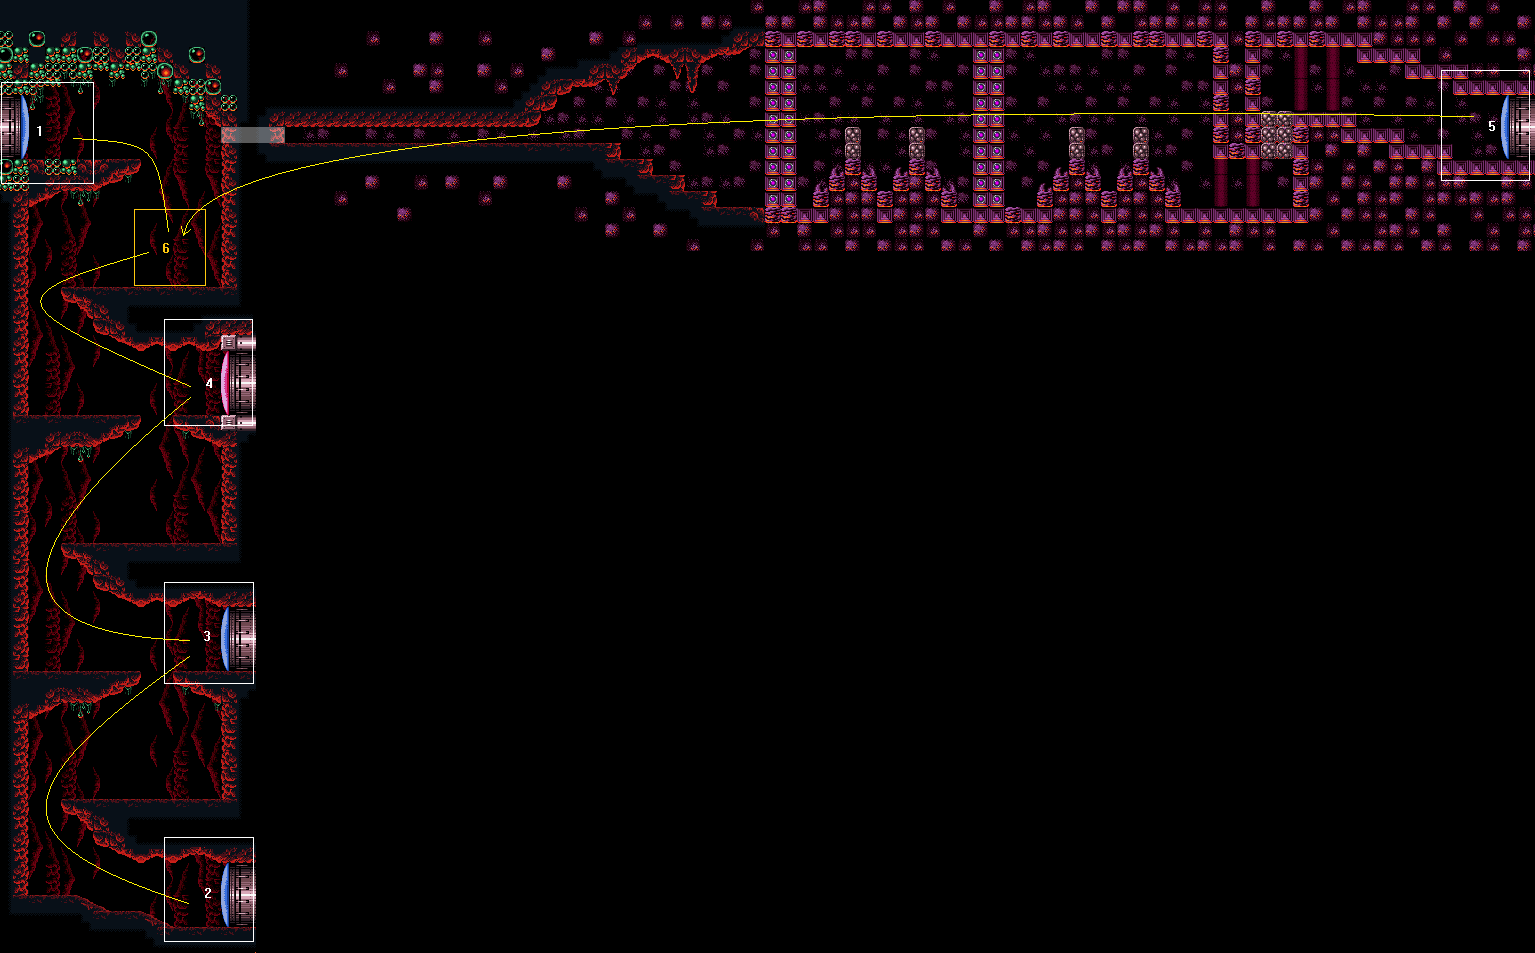
Room ID: 103
|
Requires: "canDash"
{
"or": [
{
"heatFrames": 160
},
{
"and": [
{
"enemyKill": {
"enemies": [
[
"Multiviola",
"Alcoon"
]
],
"explicitWeapons": [
"ScrewAttack",
"Wave+Plasma"
]
}
},
{
"heatFrames": 145
}
]
},
{
"and": [
{
"enemyKill": {
"enemies": [
[
"Multiviola"
]
],
"explicitWeapons": [
"Missile",
"Super",
"Plasma"
]
}
},
{
"heatFrames": 150
}
]
},
{
"and": [
"h_PlasmaHitbox",
{
"heatFrames": 145
}
]
}
]
}Dev note: This includes time to wait for the Multiviola to move out of the way (if it can't be quickly killed), as will normally be a problem when entering through the upper doors (node 1 or 4). |