Spore Spawn Super Room
Room ID: 63
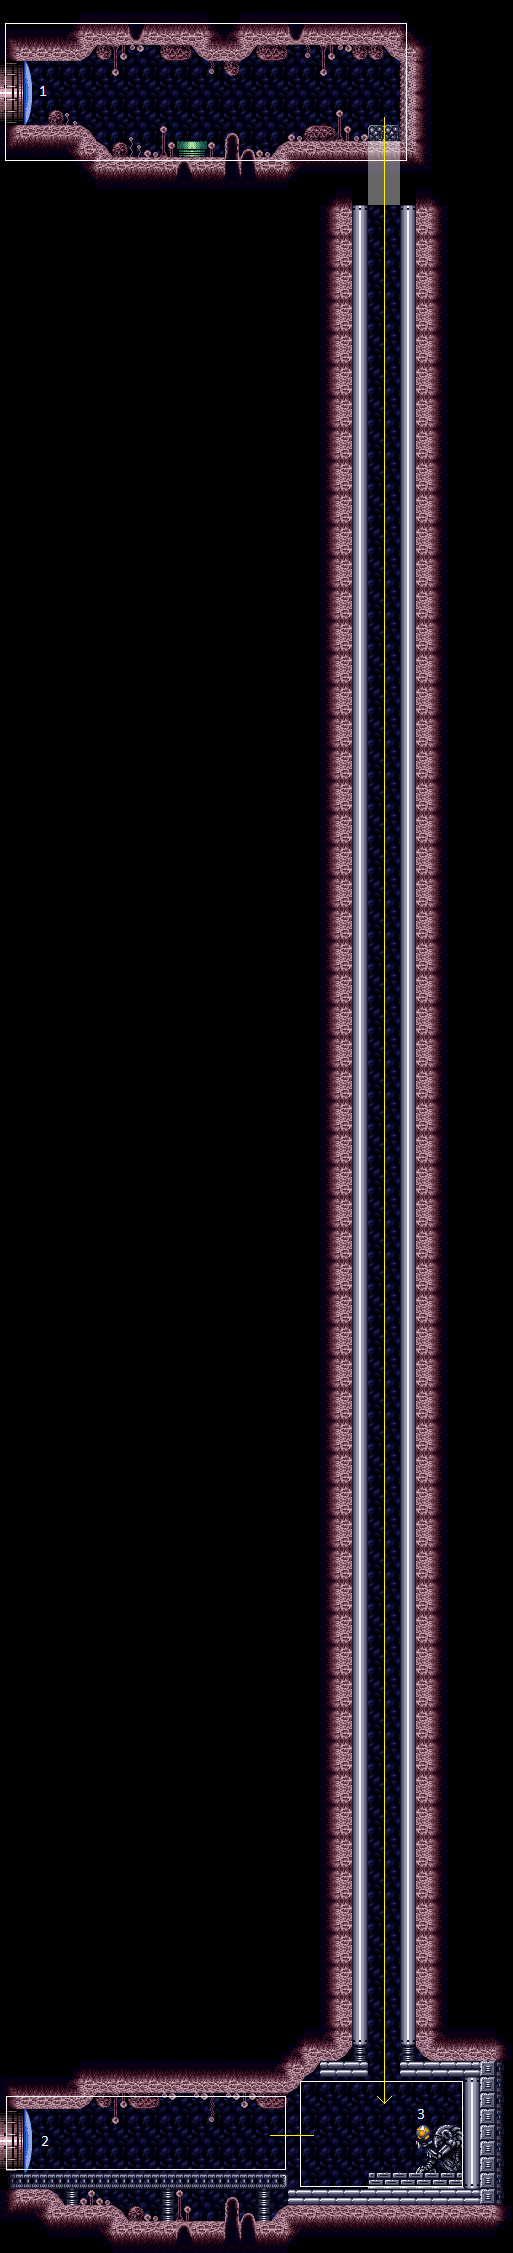
|
Requires: {"simpleCycleFrames": 85},
{"cycleFrames": 20}Farm cycle drops: 1 Zeb |
|
Exit condition: "leaveWithRunway": {
"length": 10,
"openEnd": 0,
"steepUpTiles": 2
} |
From: 1
Top Left Door
To: 1
Top Left Door
Entrance condition: "comeInShinecharging": {
"length": 9,
"openEnd": 0,
"steepDownTiles": 2
},
"comesInHeated": "no"Requires: "h_CrystalSpark" |
From: 1
Top Left Door
To: 1
Top Left Door


Entrance condition: "comeInShinecharged": {}Requires: {"shineChargeFrames": 125},
{"enemyDamage": {"enemy": "Zeb", "type": "contact", "hits": 1}},
"canSlopeSpark",
{"shinespark": {"frames": 4, "excessFrames": 4}} |
From: 1
Top Left Door
To: 1
Top Left Door
Entrance condition: "comeInShinecharging": {
"length": 9,
"openEnd": 0,
"steepDownTiles": 2
}Requires: {"enemyDamage": {"enemy": "Zeb", "type": "contact", "hits": 1}},
"canSlopeSpark",
{"shinespark": {"frames": 4, "excessFrames": 4}} |
|
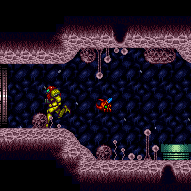

Exit condition: "leaveWithDamage": {
"enemy": "Zeb"
} |
|
|
|

Climb up 8 screens. Entrance condition: "comeInWithDoorStuckSetup": {}Requires: "canLongXRayClimb", "canBeVeryPatient" |
From: 2
Bottom Left Door
To: 1
Top Left Door
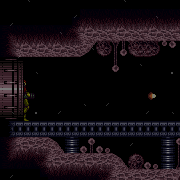

Enter with G-mode direct, back up to between 1 and 6 pixels from the door transition, and activate X-ray to get very deep stuck in the door. Climb up 8 screens, and perform a turnaround buffered spin-jump away from the door to trigger the transition, bypassing any lock on the door. Entrance condition: "comeInWithGMode": {
"mode": "direct",
"morphed": false
}Requires: "canGModeXRayClimb", "canLongXRayClimb", "canBeVeryPatient" Bypasses door shell: true |
From: 2
Bottom Left Door
To: 1
Top Left Door


Climb the shaft and overload PLMs with the camera scroll blocks which are against the crumble blocks. Entrance condition: "comeInWithGMode": {
"mode": "any",
"morphed": false
}Requires: {"or": [
"canConsecutiveWallJump",
"SpaceJump"
]}Dev note: This is mostly an alternative to the canBeVeryPatient X-Ray climb. |
From: 2
Bottom Left Door
To: 1
Top Left Door


Climb the shaft and overload PLMs with the camera scroll blocks which are against the crumble blocks. With a slow IBJ at the top, the PLMs will be overloaded before Samus hits the crumble blocks. Entrance condition: "comeInWithGMode": {
"mode": "any",
"morphed": true
}Requires: "h_artificialMorphLongIBJ", "canBePatient" Dev note: This is mostly an alternative to the canBeVeryPatient X-Ray climb. This takes approximately half the time as the X-Ray climb, but it is still almost 3 minutes. The item can't be remotely acquired, as it's in a Chozo Ball. |
From: 2
Bottom Left Door
To: 1
Top Left Door
Shinespark multiple times up the shaft and overload PLMs with the camera scroll blocks which are against the crumble blocks. To overload PLMs in as few as 3 Shinesparks, spark diagonally in the shaft and hold backwards when hitting the top, then spark again to get up. Entrance condition: "comeInWithGMode": {
"mode": "any",
"morphed": false
}Requires: {"canShineCharge": {"usedTiles": 16, "openEnd": 1}},
{"shinespark": {"frames": 399, "excessFrames": 0}},
{"shinespark": {"frames": 138, "excessFrames": 6}} |
Direct G-Mode Morph, Overload PLMs with Camera Scroll Blocks, CF, Shinespark
(Extreme)
Spore Spawn Super Room
From: 2
Bottom Left Door
To: 1
Top Left Door
Shinespark multiple times up the shaft and overload PLMs with the camera scroll blocks which are against the crumble blocks. To overload PLMs in as few as 3 Shinesparks, spark diagonally in the shaft and hold backwards when hitting the top, then spark again to get up. Afterwards, exit G-mode by using another Power Bomb to enable X-Ray again, or use the bugs to trigger Reserves. Entrance condition: "comeInWithGMode": {
"mode": "direct",
"morphed": true
}Requires: "canComplexGMode", "h_artificialMorphCrystalFlash", {"canShineCharge": {"usedTiles": 16, "openEnd": 1}}, {"shinespark": {"frames": 399, "excessFrames": 0}}, {"shinespark": {"frames": 138, "excessFrames": 6}}, {"or": [ "h_usePowerBomb", {"and": [ "canBeVeryPatient", {"autoReserveTrigger": {}} ]} ]} Dev note: Depending on the number of tanks, the Reserve trigger may or may not take very long. This is a worst-case scenario. Samus is not able to Crystal Flash twice in this room in Direct G-mode. |
Indirect G-Mode Morph, Overload PLMs with Camera Scroll Blocks, CF, Shinespark
(Extreme)
Spore Spawn Super Room
From: 2
Bottom Left Door
To: 1
Top Left Door
Shinespark multiple times up the shaft and overload PLMs with the camera scroll blocks which are against the crumble blocks. To overload PLMs in as few as 3 Shinesparks, spark diagonally in the shaft and hold backwards when hitting the top, then spark again to get up. Entrance condition: "comeInWithGMode": {
"mode": "indirect",
"morphed": true
}Requires: "canComplexGMode", "h_artificialMorphCrystalFlash", {"canShineCharge": {"usedTiles": 16, "openEnd": 1}}, {"shinespark": {"frames": 399, "excessFrames": 0}}, {"shinespark": {"frames": 138, "excessFrames": 6}} Dev note: Samus is not able to CF twice in this room in Indirect G-mode. |
From: 2
Bottom Left Door
To: 1
Top Left Door
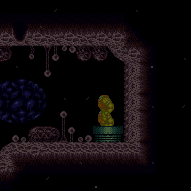

Shoot the Chozo Ball multiple times to overload PLMs then Shinespark to get up. Entrance condition: "comeInWithGMode": {
"mode": "direct",
"morphed": false
}Requires: {"itemNotCollectedAtNode": 3},
"canRiskPermanentLossOfAccess",
{"or": [
{"canShineCharge": {"usedTiles": 16, "openEnd": 2}},
{"blueSuitShinecharge": {}}
]},
{"or": [
{"shinespark": {"frames": 138, "excessFrames": 6}},
{"and": [
"h_artificialMorphCrystalFlash",
{"or": [
"Morph",
"canArtificialMorph"
]},
{"shinespark": {"frames": 138, "excessFrames": 6}}
]}
]} |
|
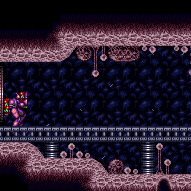

Entrance condition: "comeInWithGrappleTeleport": {
"blockPositions": [[12, 12], [12, 13]]
} |
|
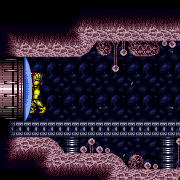
Exit condition: "leaveWithRunway": {
"length": 17,
"openEnd": 1
} |
|
Requires: "h_CrystalFlash" |
|
Requires: {"or": [
{"canShineCharge": {"usedTiles": 16, "openEnd": 1}},
{"and": [
{"doorUnlockedAtNode": 2},
{"canShineCharge": {"usedTiles": 17, "openEnd": 1}}
]}
]},
"h_CrystalSpark"Unlocks doors: {"nodeId": 2, "types": ["ammo"], "requires": []} |
From: 2
Bottom Left Door
To: 2
Bottom Left Door
Entrance condition: "comeInShinecharging": {
"length": 16,
"openEnd": 0
},
"comesInHeated": "no"Requires: "h_CrystalSpark" |
|
|
|
|