Etecoon Energy Tank Room: Beetom Clip
Room ID: 51
|


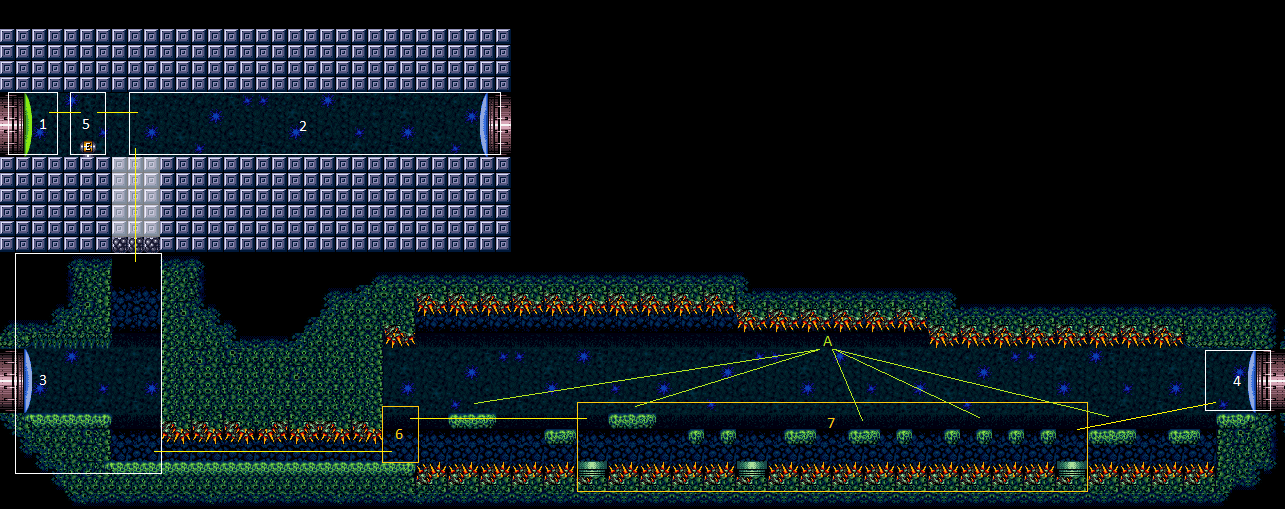
Jump and freeze the Beetom at a precise location in order to jump through the crumble blocks. The pixel window is larger and higher with Morph and an X-Ray Stand Up. Two Beetom hits are assumed, but with failed attempts it could take more, possibly requiring leaving the Beetom and going back to the right to farm. Requires: {"notable": "Beetom Clip"},
{"noBlueSuit": {}},
{"or": [
"h_XRayMorphIceClip",
"h_preciseIceClip"
]},
"Morph",
{"enemyDamage": {"enemy": "Beetom", "type": "contact", "hits": 2}},
{"or": [
"h_preciseIceClip",
"canWallJump",
"HiJump",
"SpaceJump",
{"enemyDamage": {"enemy": "Beetom", "type": "contact", "hits": 2}}
]},
{"or": [
"canCrumbleJump",
"canWallJump",
"HiJump",
"SpaceJump"
]}Dev note: Morph is required to lure a Beetom. Morphless tunnel crawl should not be required. |