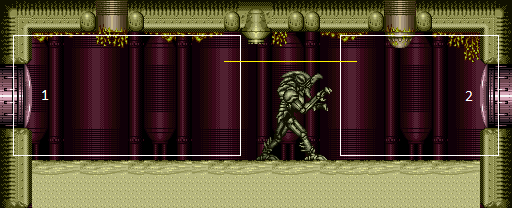
Dust Torizo Room
Room ID: 231
|
Exit condition: "leaveWithRunway": {
"length": 1,
"openEnd": 1
} |
|
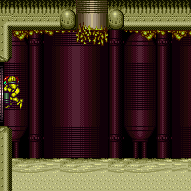

Avoid backing into the corner; instead press against it and turn around, to put Samus into a better position. Exit condition: "leaveWithSidePlatform": {
"height": 2,
"runway": {
"length": 28,
"openEnd": 0
},
"obstruction": [1, 0]
}Dev note: Max extra run speed $5.0, or $5.1 with Hi-Jump. |
|
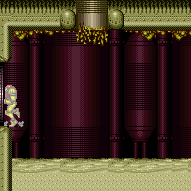

Requires: {"canShineCharge": {"usedTiles": 29, "openEnd": 0}},
"canShinechargeMovement",
{"shineChargeFrames": 35}Exit condition: "leaveShinecharged": {} |
|
Exit condition: "leaveSpinning": {
"remoteRunway": {
"length": 25,
"openEnd": 1
}
} |
|
Exit condition: "leaveWithMockball": {
"remoteRunway": {
"length": 25,
"openEnd": 1
},
"landingRunway": {
"length": 1,
"openEnd": 1
}
} |
|
Exit condition: "leaveWithSpringBallBounce": {
"remoteRunway": {
"length": 21,
"openEnd": 0
},
"landingRunway": {
"length": 1,
"openEnd": 1
},
"movementType": "uncontrolled"
} |
|
Exit condition: "leaveSpaceJumping": {
"remoteRunway": {
"length": 17,
"openEnd": 1
}
} |
|
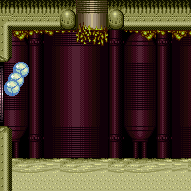

Requires: {"canShineCharge": {"usedTiles": 27, "openEnd": 0}}Exit condition: "leaveWithTemporaryBlue": {} |
|
Requires: "h_CrystalFlash" |
|
Requires: {"canShineCharge": {"usedTiles": 28, "openEnd": 0}},
"h_CrystalSpark" |
|
|
|
|
|
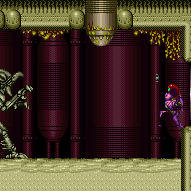

Entrance condition: "comeInWithGrappleTeleport": {
"blockPositions": [[3, 12], [3, 13]]
}Bypasses door shell: true |
|
Entrance condition: "comeInWithGrappleTeleport": {
"blockPositions": [[3, 12]]
}Exit condition: "leaveWithGrappleTeleport": {
"blockPositions": [[3, 12]]
}Bypasses door shell: true |
From: 2
Right Door
To: 1
Left Door
Entrance condition: "comeInWithGrappleTeleport": {
"blockPositions": [[3, 13]]
}Exit condition: "leaveWithGrappleTeleport": {
"blockPositions": [[3, 13]]
}Bypasses door shell: true |
|
Exit condition: "leaveWithRunway": {
"length": 1,
"openEnd": 1
} |
|
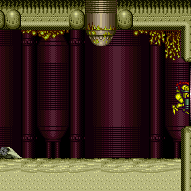

Avoid backing into the corner; instead press against it and turn around, to put Samus into a better position. Exit condition: "leaveWithSidePlatform": {
"height": 2,
"runway": {
"length": 28,
"openEnd": 0
},
"obstruction": [1, 0]
}Dev note: Max extra run speed $5.0, or $5.1 with Hi-Jump. |
|
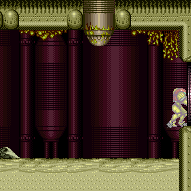
Requires: {"canShineCharge": {"usedTiles": 29, "openEnd": 0}},
"canShinechargeMovement",
{"shineChargeFrames": 35}Exit condition: "leaveShinecharged": {} |
|
Exit condition: "leaveSpinning": {
"remoteRunway": {
"length": 25,
"openEnd": 1
}
} |
|
Exit condition: "leaveWithMockball": {
"remoteRunway": {
"length": 25,
"openEnd": 1
},
"landingRunway": {
"length": 1,
"openEnd": 1
}
} |
|
Exit condition: "leaveWithSpringBallBounce": {
"remoteRunway": {
"length": 21,
"openEnd": 0
},
"landingRunway": {
"length": 1,
"openEnd": 1
},
"movementType": "uncontrolled"
} |
|
Exit condition: "leaveSpaceJumping": {
"remoteRunway": {
"length": 17,
"openEnd": 1
}
} |
|
Requires: {"canShineCharge": {"usedTiles": 27, "openEnd": 0}}Exit condition: "leaveWithTemporaryBlue": {} |