Lower Norfair Farming Room
Room ID: 141
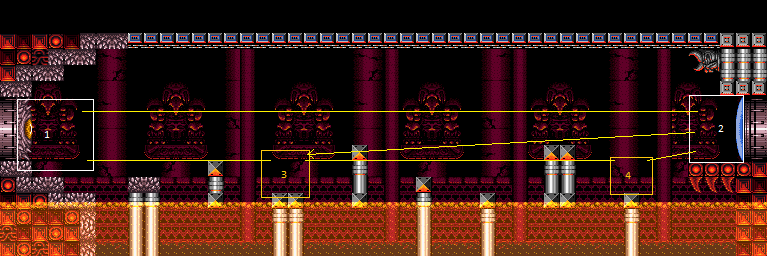
|
Exit condition: "leaveWithRunway": {
"length": 1,
"openEnd": 1
} |
|


Requires: {"heatFrames": 120}Exit condition: "leaveWithSidePlatform": {
"height": 1,
"runway": {
"length": 2,
"openEnd": 1
},
"obstruction": [1, 0]
}Dev note: Max extra run speed $0.D. |
|
Requires: "h_heatedCrystalFlash" |
|
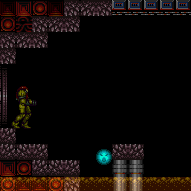

Use a Super to knock off the Viola to regain mobility. Requires: {"ammo": {"type": "Super", "count": 1}},
{"enemyDamage": {"enemy": "Viola", "type": "contact", "hits": 1}} |
|
Requires: "canDash", "SpaceJump", {"heatFrames": 360} |
From: 1
Left Door
To: 2
Right Door
Entrance condition: "comeInJumping": {
"speedBooster": "any",
"minTiles": 5
}Requires: "SpaceJump", "canPrepareForNextRoom", {"heatFrames": 260} |
From: 1
Left Door
To: 2
Right Door
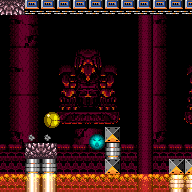

Entrance condition: "comeInJumping": {
"speedBooster": "no",
"minTiles": 5
}Requires: "canTrickySpringBallBounce", {"heatFrames": 265} |
From: 1
Left Door
To: 2
Right Door
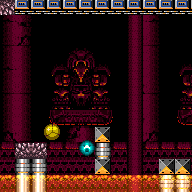
Entrance condition: "comeInJumping": {
"speedBooster": "no",
"minTiles": 4
}Requires: "canTrickySpringBallBounce", {"heatFrames": 285} |
From: 1
Left Door
To: 2
Right Door
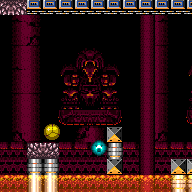
Entrance condition: "comeInJumping": {
"speedBooster": "no",
"minTiles": 3
}Requires: "canTrickySpringBallBounce", {"heatFrames": 315} |
From: 1
Left Door
To: 2
Right Door
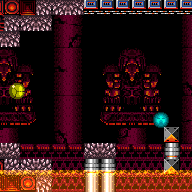
Entrance condition: "comeInWithSpringBallBounce": {
"speedBooster": "any",
"movementType": "controlled",
"remoteAndLandingMinTiles": [[7, 0]]
}Requires: "canTrickySpringBallBounce", {"heatFrames": 240} |
From: 1
Left Door
To: 2
Right Door
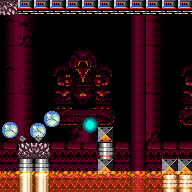
Entrance condition: "comeInWithSpringBallBounce": {
"speedBooster": "no",
"movementType": "controlled",
"remoteAndLandingMinTiles": [[30, 1]]
}Requires: "canTrickySpringBallBounce", "canSpringFling", {"heatFrames": 140} |
|
Entrance condition: "comeInShinecharged": {}Requires: {"shineChargeFrames": 15},
"canHorizontalMidairShinespark",
{"shinespark": {"frames": 57, "excessFrames": 4}},
{"heatFrames": 230} |
|
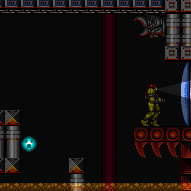

It is possible to kill a Zebbo by the door and pause abuse to grab its Energy drop on G-mode exit. Entrance condition: "comeInWithGMode": {
"mode": "any",
"morphed": false
}Requires: {"or": [
"h_heatedGModePauseAbuse",
"h_heatedGModeOpenDifferentDoor"
]} |
|
Requires: {"heatFrames": 135},
{"or": [
"canDash",
{"heatFrames": 45}
]} |
|
Requires: "canDash", "SpaceJump", {"heatFrames": 300} |
|
Entrance condition: "comeInRunning": {
"speedBooster": "any",
"minTiles": 3
}Requires: "h_navigateHeatRooms", "SpaceJump", {"heatFrames": 260} |
From: 2
Right Door
To: 1
Left Door
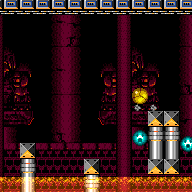
Entrance condition: "comeInRunning": {
"speedBooster": "no",
"minTiles": 3
}Requires: "canTrickySpringBallBounce", {"heatFrames": 235} |
From: 2
Right Door
To: 1
Left Door
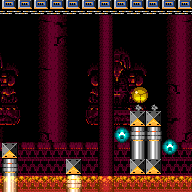
Entrance condition: "comeInRunning": {
"speedBooster": "no",
"minTiles": 3
}Requires: "canTrickySpringBallBounce", {"heatFrames": 260} |
From: 2
Right Door
To: 1
Left Door
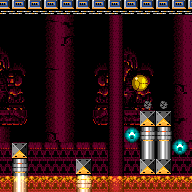
Entrance condition: "comeInWithSpringBallBounce": {
"speedBooster": "any",
"movementType": "controlled",
"remoteAndLandingMinTiles": [[7, 0]]
}Requires: "canTrickySpringBallBounce", {"heatFrames": 240} |
From: 2
Right Door
To: 1
Left Door
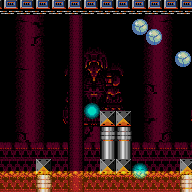
Entrance condition: "comeInWithSpringBallBounce": {
"speedBooster": "yes",
"movementType": "any",
"remoteAndLandingMinTiles": [[33, 1]]
}Requires: "canTrickySpringBallBounce", "canSpringFling", {"heatFrames": 155} |
|
Entrance condition: "comeInShinecharged": {}Requires: {"shineChargeFrames": 15},
"h_navigateHeatRooms",
"canHorizontalMidairShinespark",
{"shinespark": {"frames": 59, "excessFrames": 5}},
{"heatFrames": 190} |
|
Entrance condition: "comeInWithGrappleTeleport": {
"blockPositions": [[5, 3], [7, 2]]
}Requires: {"heatFrames": 45} |
From: 2
Right Door
To: 1
Left Door
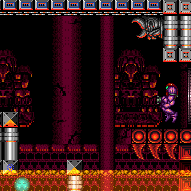

Entrance condition: "comeInWithGrappleTeleport": {
"blockPositions": [[3, 12], [3, 13]]
}Bypasses door shell: true |
From: 2
Right Door
To: 1
Left Door
Entrance condition: "comeInWithGrappleTeleport": {
"blockPositions": [[3, 12]]
}Exit condition: "leaveWithGrappleTeleport": {
"blockPositions": [[3, 12]]
}Bypasses door shell: true |
From: 2
Right Door
To: 1
Left Door
Entrance condition: "comeInWithGrappleTeleport": {
"blockPositions": [[3, 13]]
}Exit condition: "leaveWithGrappleTeleport": {
"blockPositions": [[3, 13]]
}Bypasses door shell: true |
|
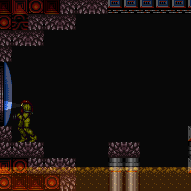

It is possible to kill a Zebbo by the door and pause abuse to grab its Energy drop on G-mode exit. Entrance condition: "comeInWithGMode": {
"mode": "any",
"morphed": false
}Requires: {"or": [
"h_heatedGModePauseAbuse",
"h_heatedGModeOpenDifferentDoor"
]} |
|
Exit condition: "leaveWithRunway": {
"length": 4,
"openEnd": 1
} |
|
Be careful to avoid damage from the respawning Zebbos. They will not spawn if you are close enough to the door. Requires: "h_heatedCrystalFlash" |
From: 2
Right Door
To: 2
Right Door
All the Violas in the room die when placing a Power Bomb, so it is best to quickly gather them on a failed attempt. Entrance condition: "comeInShinecharging": {
"length": 3,
"openEnd": 0
}Requires: "h_heatedCrystalSpark" Dev note: No lenience, because Power Bombs can be farmed from the Violas. |
|
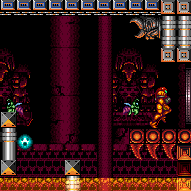

Entrance condition: "comeInNormally": {}Requires: {"heatFrames": 150},
{"or": [
"canDash",
{"heatFrames": 40}
]}Exit condition: "leaveWithDamage": {
"enemy": "Zebbo"
}Unlocks doors: {"types": ["super"], "requires": []},
{
"types": ["missiles"],
"requires": [{"heatFrames": 70}]
},
{
"types": ["powerbomb"],
"requires": [{"heatFrames": 250}]
}Dev note: FIXME: Could maybe reduce the heat frames if coming from the farm or the left. |
|
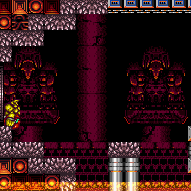

Use the wider platforms to build run speed for jumping farther, faster. Requires: "canDash", "canTrickyJump", {"heatFrames": 200} |
|
Requires: {"heatFrames": 45},
{"or": [
"canDash",
{"heatFrames": 20}
]} |
|
Requires: {"heatFrames": 145},
{"or": [
"canDash",
{"heatFrames": 70}
]} |
From: 3
Left Farm Junction
To: 1
Left Door


The Zebbo needs to be 2 pixels higher than where it would be if Samus was standing. One setup is to peform a tiny hop just before the right Zebbo starts moving to the left then freeze it after it starts moving left. Lure the Zebbo to the left and freeze it again to extend the runway while maintaining a half-tile gap between it and the runway to extend the runway as much as possible. With more Energy, it is possible to morph on one of the medium-height pillars to align the Zebbo. Requires: "canDash", "h_frozenEnemyRunway", {"heatFrames": 1000} Exit condition: "leaveWithRunway": {
"length": 3,
"openEnd": 0
}Unlocks doors: {"types": ["ammo"], "requires": []} |
From: 3
Left Farm Junction
To: 1
Left Door


Requires: {"heatFrames": 280},
{"or": [
"canDash",
"canComplexGMode"
]}Exit condition: "leaveWithDamage": {
"enemy": "Zebbo"
}Unlocks doors: {"types": ["super"], "requires": []},
{
"types": ["missiles"],
"requires": [{"heatFrames": 130}]
},
{
"types": ["powerbomb"],
"requires": [{"heatFrames": 350}]
}Dev note: FIXME: Add a dashless setup with Ice. |
From: 3
Left Farm Junction
To: 3
Left Farm Junction
Requires: "h_heatProof", {"or": [ {"and": [ "Grapple", {"simpleCycleFrames": 110}, {"cycleFrames": 30} ]}, {"and": [ {"or": [ "Plasma", "Wave", "Spazer" ]}, {"simpleCycleFrames": 150}, {"cycleFrames": 35} ]}, {"and": [ "ScrewAttack", "canDodgeWhileShooting", {"simpleCycleFrames": 155}, {"cycleFrames": 35} ]}, {"and": [ "canFarmWhileShooting", {"simpleCycleFrames": 120}, {"cycleFrames": 60} ]}, {"and": [ "canDodgeWhileShooting", {"simpleCycleFrames": 240}, {"cycleFrames": 60} ]} ]} Farm cycle drops: 2 Zebbo |
From: 3
Left Farm Junction
To: 3
Left Farm Junction
Requires: "h_heatProof", {"or": [ {"and": [ {"resetRoom": {"nodes": [1]}}, {"cycleFrames": 840} ]}, {"and": [ {"resetRoom": {"nodes": [2]}}, {"cycleFrames": 870} ]} ]}, {"or": [ "h_lavaProof", "canDodgeWhileShooting" ]}, {"or": [ "Grapple", {"cycleFrames": 410} ]} Farm cycle drops: 5 Viola Dev note: Taking damage isn't unlikely, but the Zebbos are here as an Energy farm. |
From: 3
Left Farm Junction
To: 3
Left Farm Junction
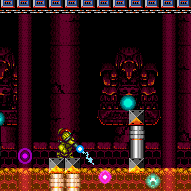

Requires: "Grapple", "canFarmWhileShooting", {"heatFramesWithEnergyDrops": { "frames": 370, "drops": [{"enemy": "Zebbo", "count": 3}] }}, {"partialRefill": {"type": "PowerBomb", "limit": 3}}, {"heatFrames": 200} |
|
Requires: "Grapple", "canFarmWhileShooting", "canPauseAbuse", {"simpleHeatFrames": 110}, {"heatFrames": 30}, {"simpleCycleFrames": 110}, {"cycleFrames": 30} Farm cycle drops: 2 Zebbo |
From: 3
Left Farm Junction
To: 3
Left Farm Junction
Regain some energy in order to use the Zebbo farm. Requires: {"or": [
{"and": [
{"heatFrames": 20},
"canPauseAbuse"
]},
{"heatFrames": 70}
]},
"Grapple",
{"partialRefill": {"type": "RegularEnergy", "limit": 50}} |
|
Be careful to avoid damage from the respawning Zebbos. Requires: "h_heatedCrystalFlash" |
|
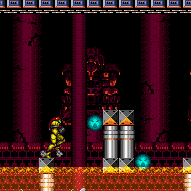

Requires: {"or": [
"canTrickyJump",
{"heatFrames": 30}
]},
{"heatFrames": 190},
{"or": [
"canDash",
{"heatFrames": 90}
]} |
|
Requires: {"heatFrames": 60},
{"or": [
"canDash",
{"heatFrames": 20}
]} |
From: 4
Right Farm Junction
To: 2
Right Door


The Zebbo needs to be 2 pixels higher than where it would be if Samus was standing. One setup is to peform a tiny hop just before the left Zebbo starts moving to the right then freeze it after it starts moving right. Get onto the runway and freeze the Zebbo again while maintaining a half-tile gap between it and the runway to extend it as much as possible. With more Energy, it is possible to morph on one of the medium-height pillars to align the Zebbo. With less Energy, it is possible to get the Zebbo into position by only freezing it once - after the small hop, jump towards the door and shoot downwards to freeze it in place. Requires: "canDash", "h_frozenEnemyRunway", {"heatFrames": 300}, {"or": [ "canInsaneJump", {"heatFrames": 300} ]} Exit condition: "leaveWithRunway": {
"length": 6,
"openEnd": 0
}Unlocks doors: {"types": ["ammo"], "requires": []} |
|
Requires: {"heatFrames": 180},
{"or": [
"canDash",
{"heatFrames": 80}
]} |
From: 4
Right Farm Junction
To: 4
Right Farm Junction
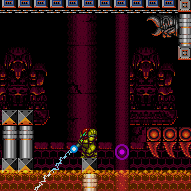

Requires: "Grapple", "canFarmWhileShooting", {"heatFramesWithEnergyDrops": { "frames": 400, "drops": [{"enemy": "Zebbo", "count": 4}] }}, {"partialRefill": {"type": "PowerBomb", "limit": 4}}, {"heatFrames": 200} |
From: 4
Right Farm Junction
To: 4
Right Farm Junction
Be careful to avoid damage from the respawning Zebbos. Requires: "h_heatedCrystalFlash" |